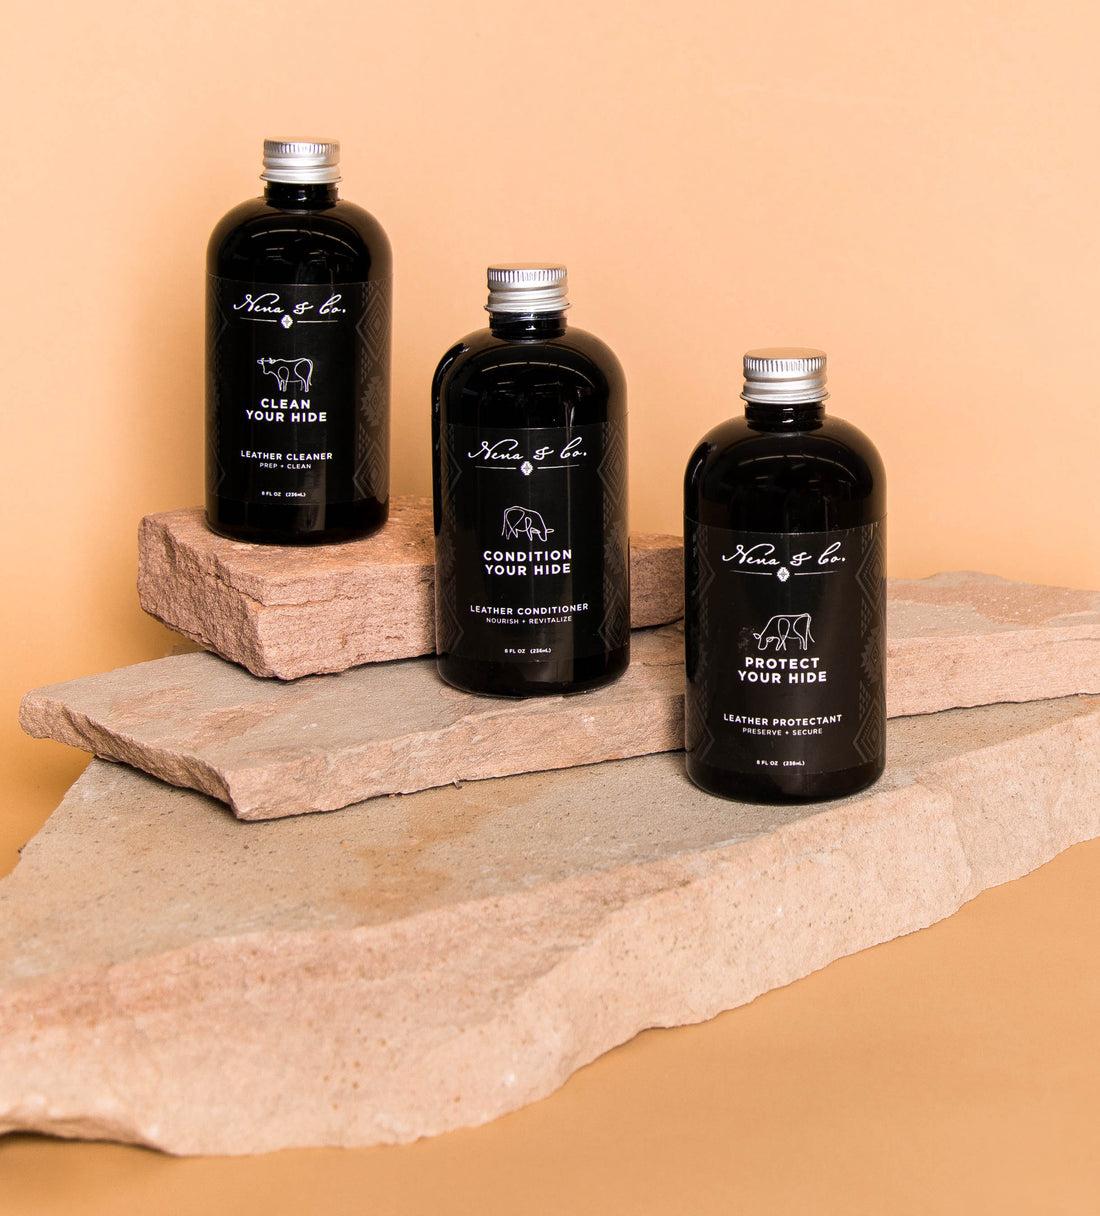
How to Clean, Condition, and Protect Your Hide
All of our bags are handmade, with beautiful full grain leather that has been tanned and dyed using traditional methods. This process ensures that our leather products retain high quality and feature the inherent beauty of the material. Each hide is proof of its own authenticity. From scars and bug bites to beauty marks, you can guarantee that no two hides are alike.
As you carry your full grain leather bag, it naturally becomes softer and more supple as it absorbs oils from your hands with each use. This is the nature of using full grain leather, and we proudly stand behind its natural characteristics.
Although all of our colored leathers are formulated using the same techniques, it is important to understand that different colors will wear and scratch differently. As with all high quality full grain leather, proper conditioning and care is recommended. We’ve made it easy for you by creating a step by step tutorial of how to use our leather cleaner, conditioner, and protectant!

Clean Your Hide
- Ensure that your work table is clean and covered. Shake the bottle of Clean Your Hide solution well, then place a small amount of the cleanser on the application pad (included with your cleanser) or a cotton rag.
- Test a small discreet area and gently rub in a circular motion and allow it to naturally dry. If there is no excessive color rub off or negative discoloration it should be safe to proceed with the next step.
- Leather should be entirely dry when you begin total cleansing. Massage a dab of the cleanser over the leather surface, starting with less rather than more. The goal is to avoid over-saturating the bag. Continue to massage the cleanser into your leather surface until it is fully treated.
- Allow bag to dry naturally and follow up the cleansing treatment with the conditioning treatment steps.
Condition Your Hide
- Conditioning your bag should ideally happen after your bag has been treated with our Clean Your Hide leather cleanser. To get started, shake the bottle of Condition Your Hide well and ensure you are starting the application on a naturally dried bag.
- Squeeze a generous amount of conditioner on the application pad included with your conditioner or use a cotton rag. Gently massage over the leather surface and avoid an uneven spread, which could lead to blotchy areas when dried.
- After the leather has been conditioned, allow your bag to dry naturally. Once the bag has fully dried and absorbed the conditioner, buff in any remaining with a gentle circular motion. Allow the bag to dry fully overnight.
- It is best to condition your bag 2-4 times a year, but if your leather is feeling rough or dry, it may be time to rejuvenate.

Protect Your Hide
- Shake the Protect Your Hide bottle well. Test a discreet area with the application pad and gently rub in a circular motion and allow it to naturally dry. If there is no excessive color rub off or negative discoloration it should be safe to proceed with the next step.
- Ensure that the leather is dry before beginning the treatment. Start with a small amount of water protectant on the application pad and use small circular motion to apply thin layers across the leather surface.
- After the protectant has been applied to the leather, allow your bag to dry naturally. Once the bag has fully dried and absorbed the protectant, buff in any remaining protectant with a gentle circular motion. Allow the bag to dry fully overnight.
- Water protectant can be applied to your bag as often as you feel necessary. Depending on the climate and the amount of use your bag goes through, it may need to be treated more or less often.
*With each of our leather products we always recommend doing a test spot on the leather before applying a treatment to the entire bag.

